
Prep
- I like to have the 4×8 sheet of MDF cut down at HD into smaller pieces. A full size sheet is pretty darn heavy and it’s easier to cut smaller sections at home anyway.
- I screw a slab of MDF on my workbench. Inevitable my bench surface is pretty beat up and a nice clean flat surface helps line everything up through the build process.
- I setup the table saw to make sure the fence is parallel to the blade and the blade is perpendicular to the table surface. I cut through a 2×4 and then flip it over to make sure the joint still butts flush together. It does not have to be perfect, but perfecter is more better.
- I use an outfeed table and a side roller to make the larger sheets more manageable during the cutting process.

Cut Planning
A little bit of planning makes my cut process quicker with fewer (yes, fewer) mistakes. I start by drawing out each side of the cabinet and figuring out how I am going to cut the panels. I add dimensions to the drawing so that I get a visual representation of the exact size of each panel. Then I draw out my MDF sheets and place where each panel will be cutout. Once the saw gets going all the pieces start looking the same to me, so I label each one as I go.
Making the Cuts
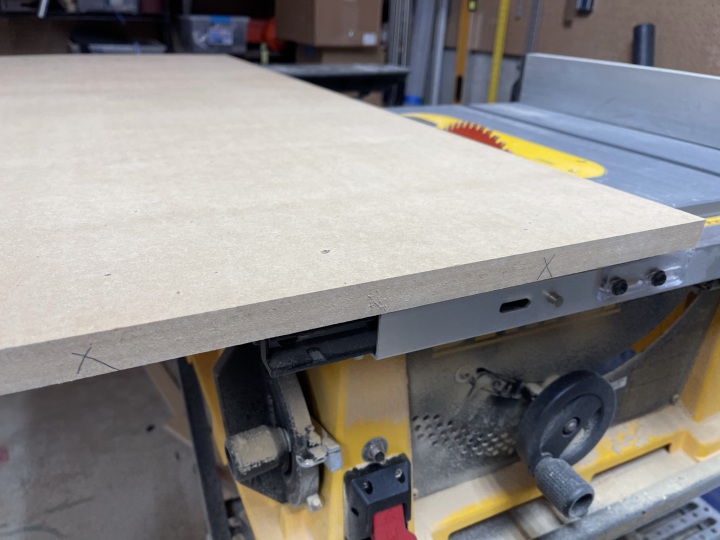
Once everything is planned out, I fire up the saw and start cutting. Well, first I double check everything. You know, measure twice cut once (in that order).
To make sure I get rid of all of the factory edges, I put a few X’s down the sides so I make sure they get cut off and discarded. I cut everything as close as possible to the exact correct dimension, which is not that hard when the table saw is setup well. As every panel comes off the saw I pencil in what the panel is: side, top, bottom, etc.
Window Braces
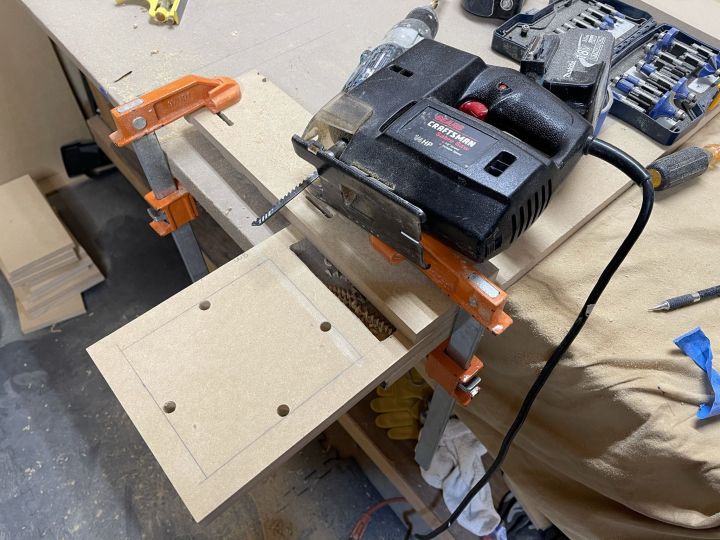
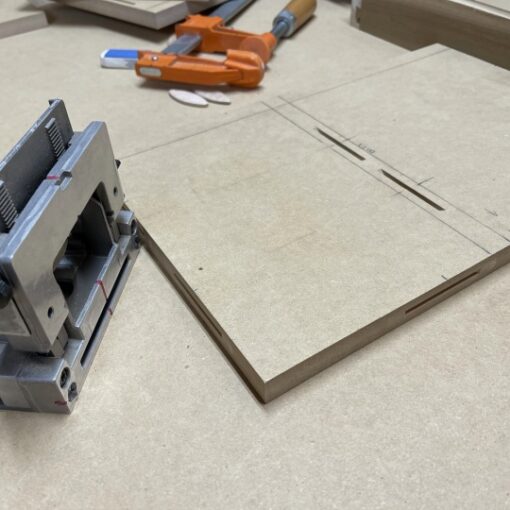
I decided to cut the window braces out of an MDF panel. They are flush with the top bottom and front of the cabinet. In the back, the removable rear baffle sits flush on the back of the window brace. I cut two windows so that there was about 3/4″ left over.
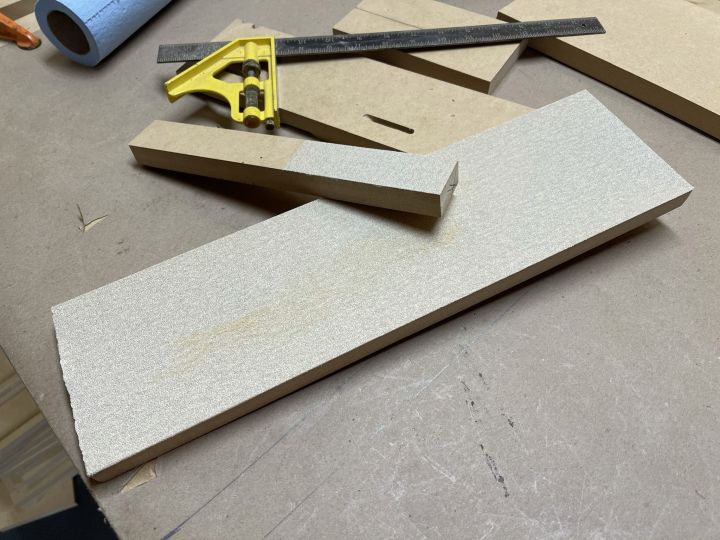
I used a jigsaw to cutout the windows, drilling a hole in the middle of each edge to get started. The cuts ended up fairly rough, so I used a bit of MDF with stick-on 80-grit sandpaper to get the inside edge more or less smooth and straight (not that it really matters that much.
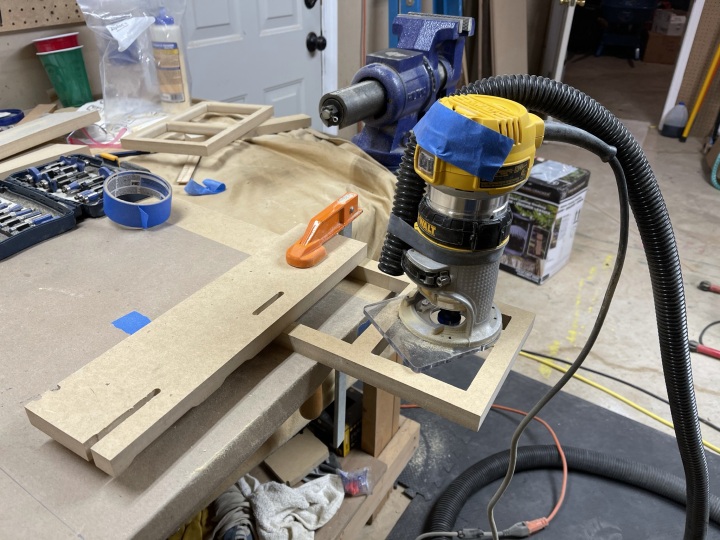
I also routed a quarter-round edge on the insides to have fewer flat edges inside the cabinet (although I would be surprised if that really mattered much – but why not).
