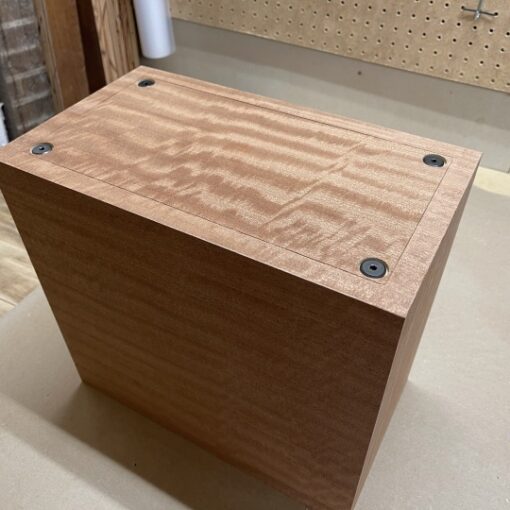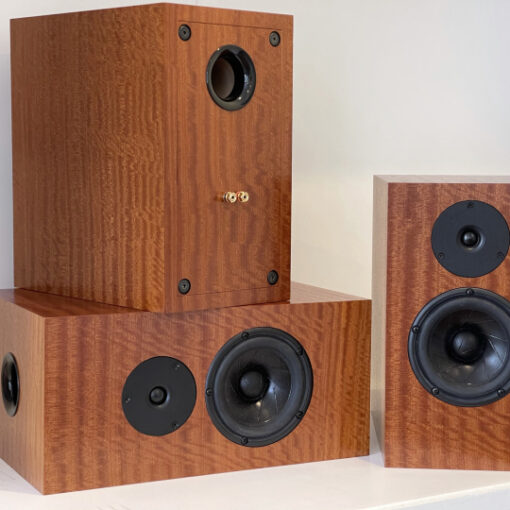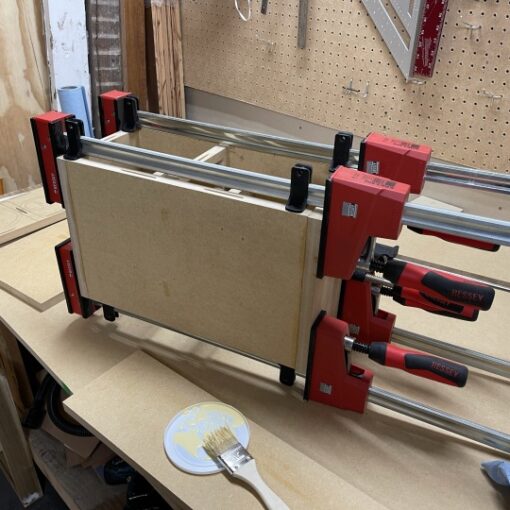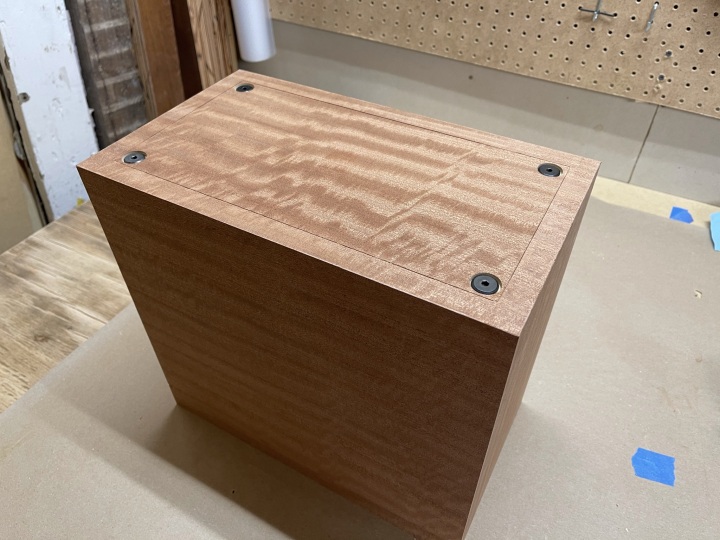
Empty boxes are nice, but speakers need cutouts. The challenge for me was knowing that with one mistake, the cabinet could be wrecked … no pressure.
Quick note. Previously, I have done the cutouts before veneering. It’s lower stress because I was not too far into the project. But it’s hard to get a nice clean edge on the veneer. This way produced a much cleaner finish.
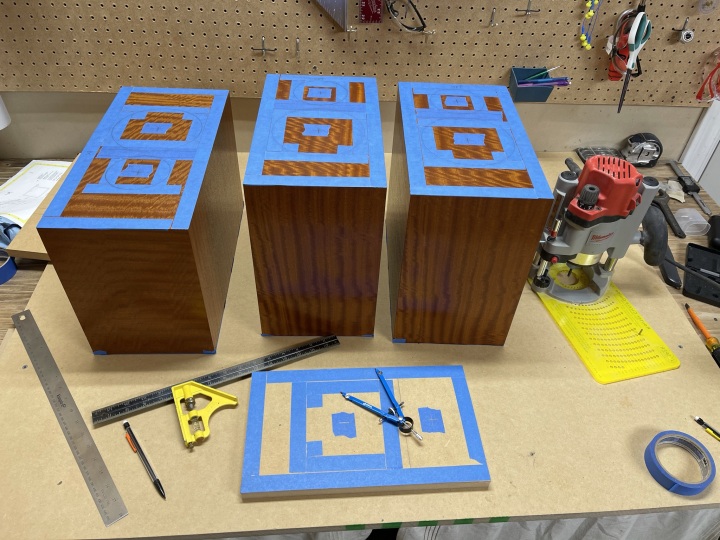
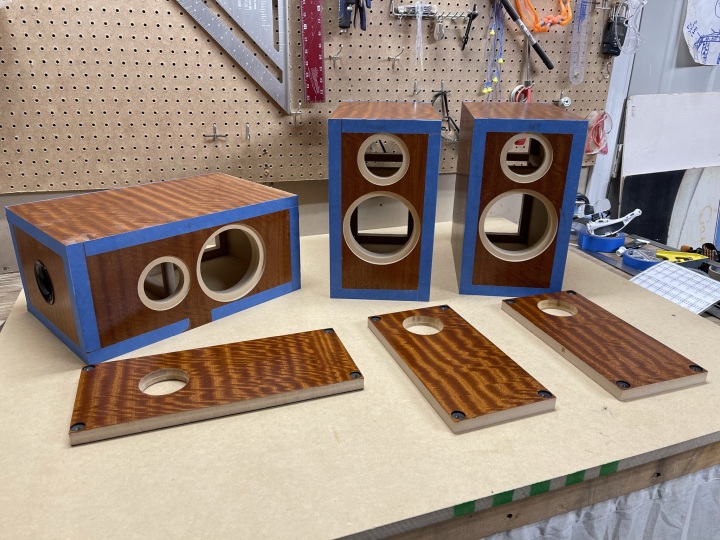
In my paranoia to avoid making a critical mistake, I went to lengths to make sure everything was marked, tested and tested again. In addition to taping and marking the front of each speaker, I marked up two test panels. I put painters tape around the circumference of the cutouts and used a compass to draw the outline of the outer recess. I double checked that I had the woofer on the bottom and the tweeter on the top. I checked that there was clearance between the inner cutout and the window bracing. I then chickened out for a day or two before firing up the router.
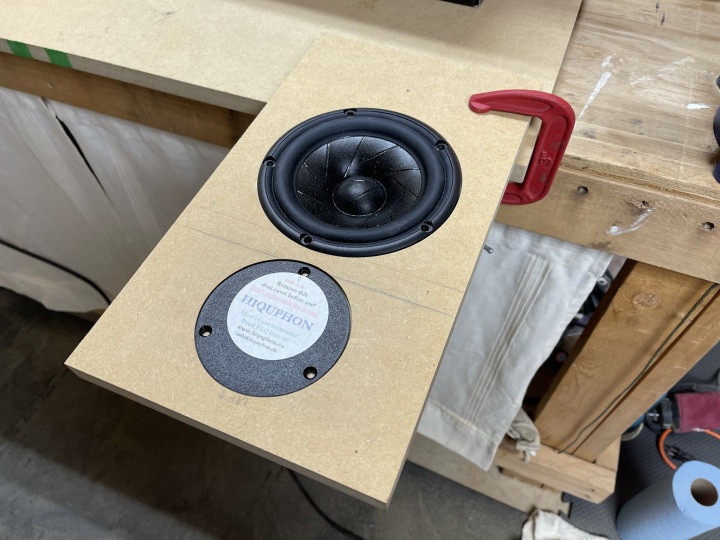
I marked the test panel at the same time as marking the cabinets to make sure it was all consistent. Before cutting anything on the cabinets, I did a full dry run on test panel #1. I dropped the drivers in to make sure the recess depth, outer and inner diameter were good. Check.
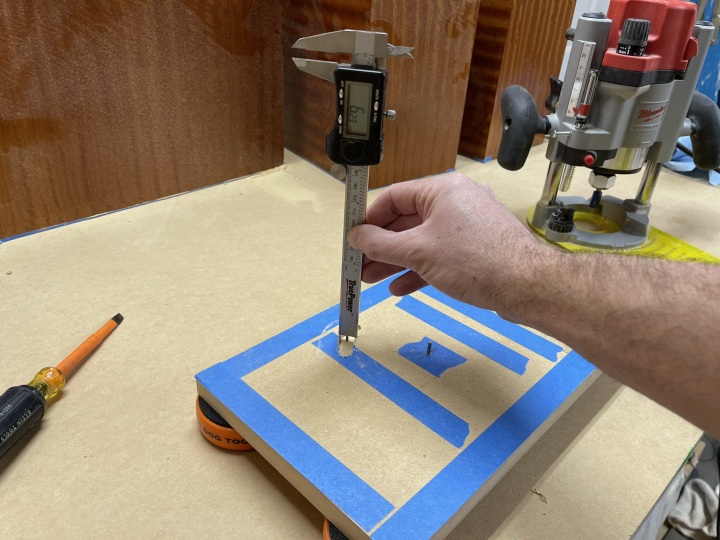
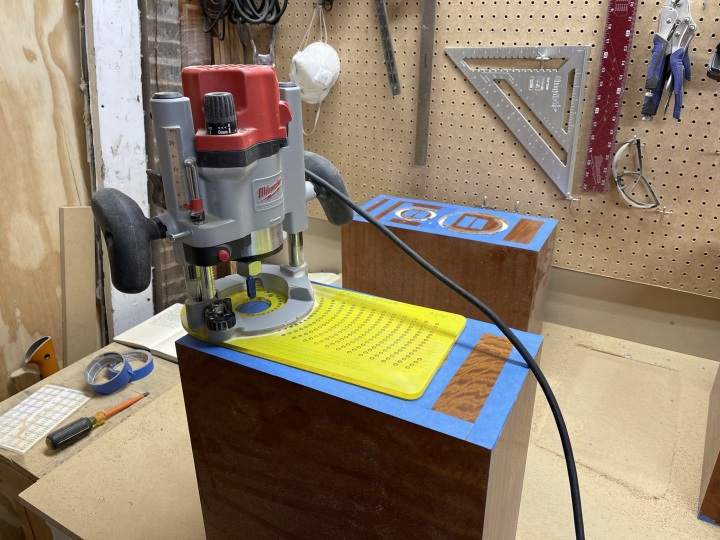
For the actual cabinets, I first cut the recess on test panel #2. I measured depth with a pair of calipers and used the router depth stop to dial it in. Once I got it just right, I cut all three of the speakers. This ensured I had a consistent depth for each cabinet and minimized the opportunity to make a mistake.
I cut the recesses with a 1/2” bit. Then for the inner cutouts and the port holes, I used a 1/4” bit. I managed to break two 1/4” bits in the process. Instead of using lower quality double flute straight bits, I’m going to start using a Whiteside carbide double flute up-cut spiral bit for the through holes. For the exposed surface cuts like the recess, I’m going to use a double flute down-cut spiral bit. The down cut will minimize tear out around the edges of the cut.
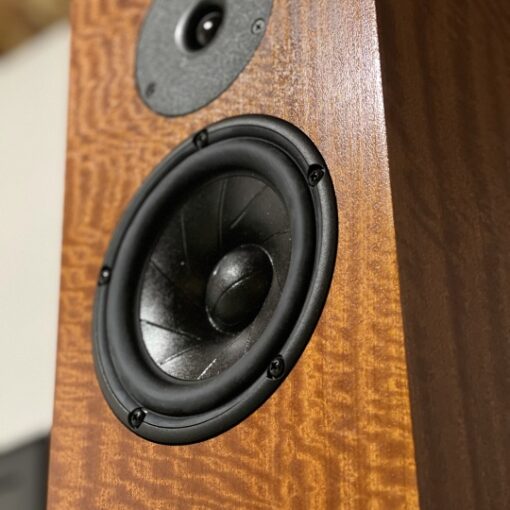
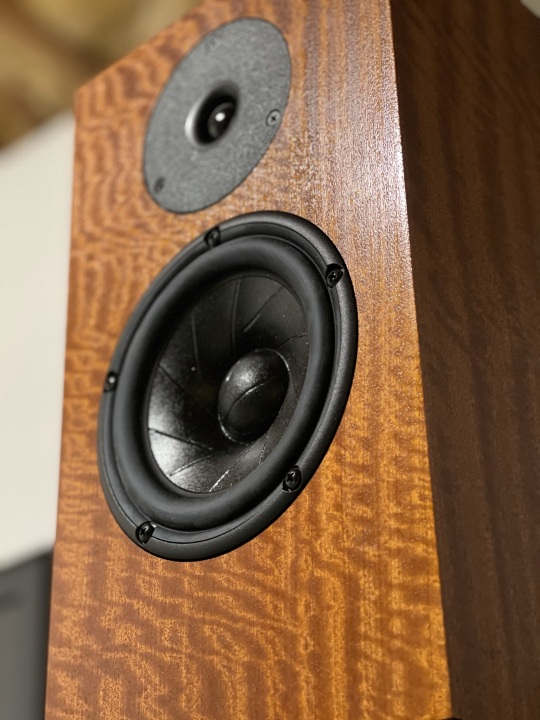
But even with a bit of grief, they turned out looking great.
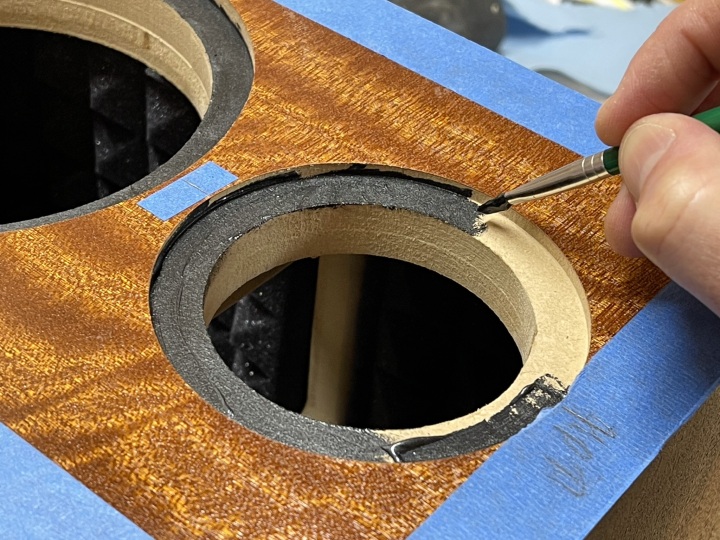
As a final touch, I painted the cutouts black. I used a tube of art supply metallic black acrylic. Mainly because I found it in a cabinet. But it actually worked great. It was easy to apply with a small brush and cleaned up easily with water. Certainly easier and faster than trying to spray. And any paint that got on the finished surface was easily wiped off with a damp cloth.