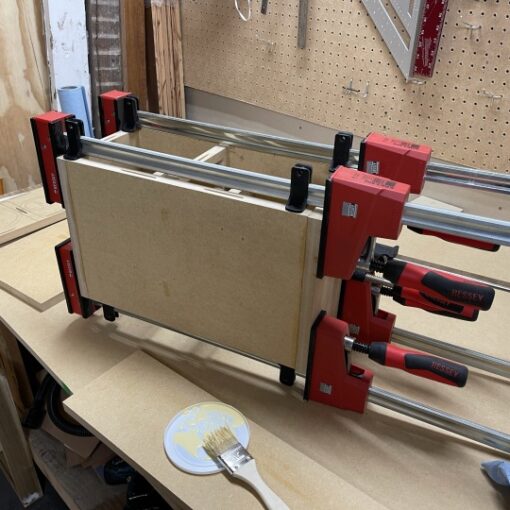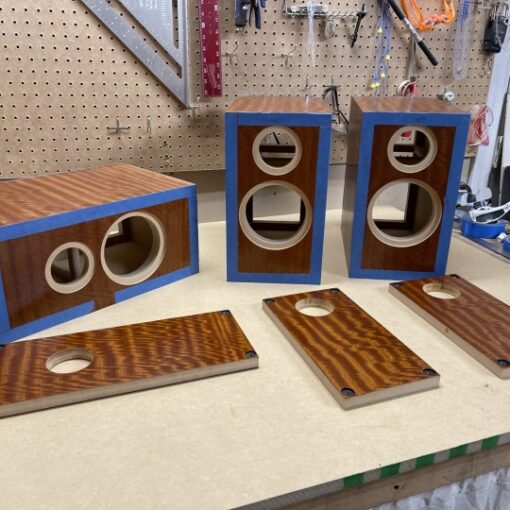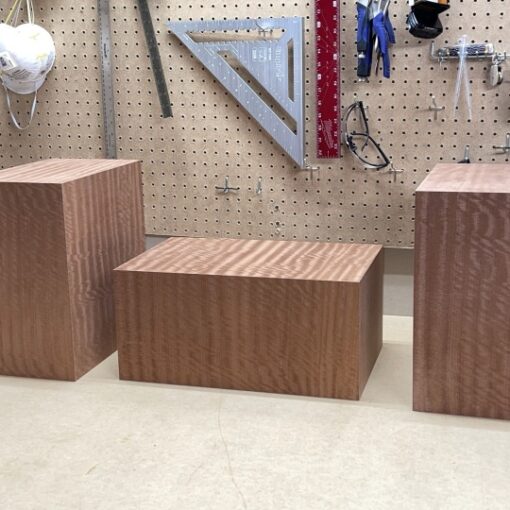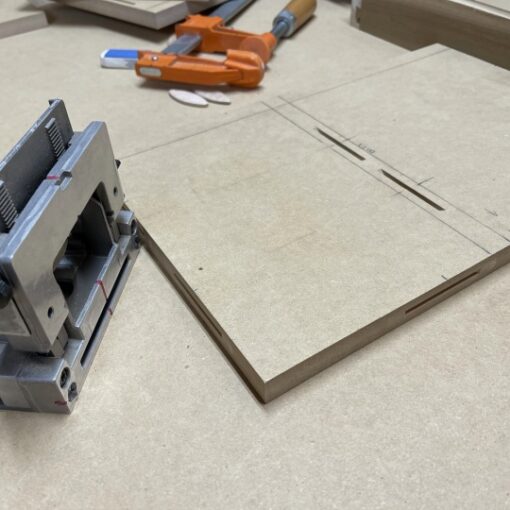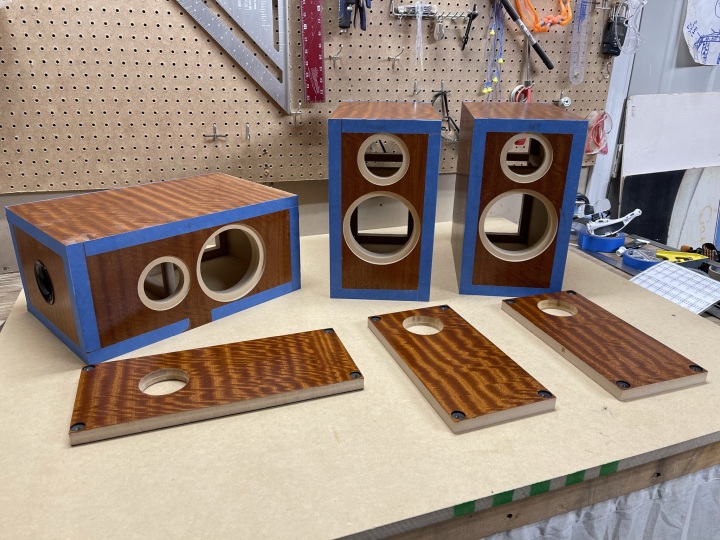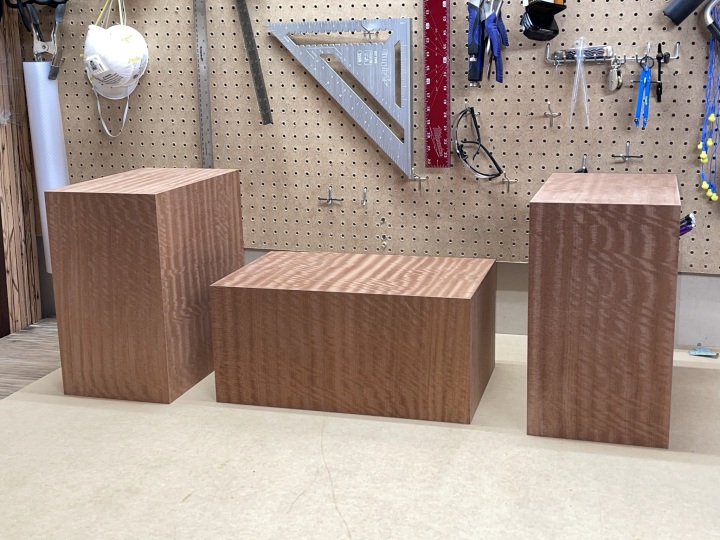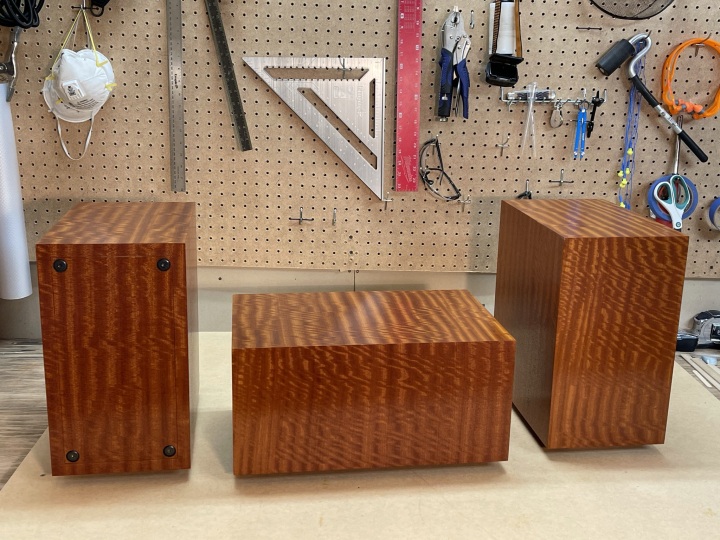
I think shellac is an awesome finish for wood where the durability and water resistance of more modern finishes is not required. From a finish perspective, bookshelf speakers should live a fairly sheltered life. It looks particularly good on woods with a reddish tint like mahogany or heart pine.
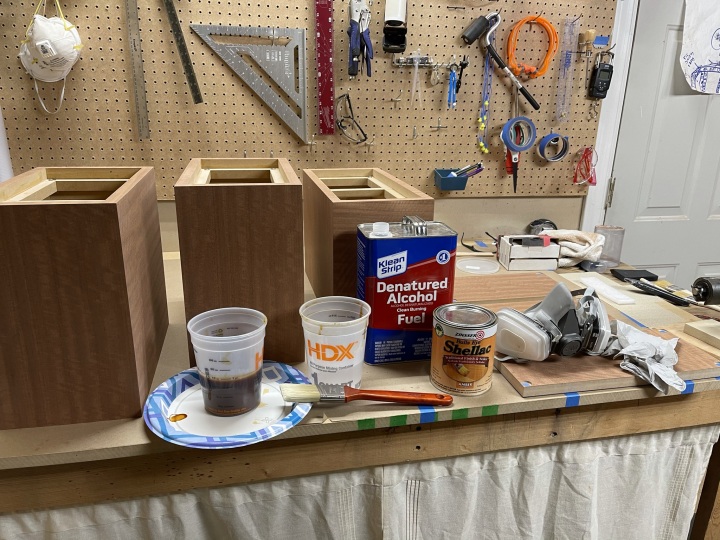
I used Zinsser Bulls Eye Amber Shellac. As far as I know this is the only pre-mixed shellac on the market. I think it works great, but there is a limited shelf life, may be six months or a year. Mixing shellac flakes with denatured alcohol is definitely a possibility. It only starts to age once mixed. But I have not tried this yet, and the pre-mixed is readily available and inexpensive.
Sanding
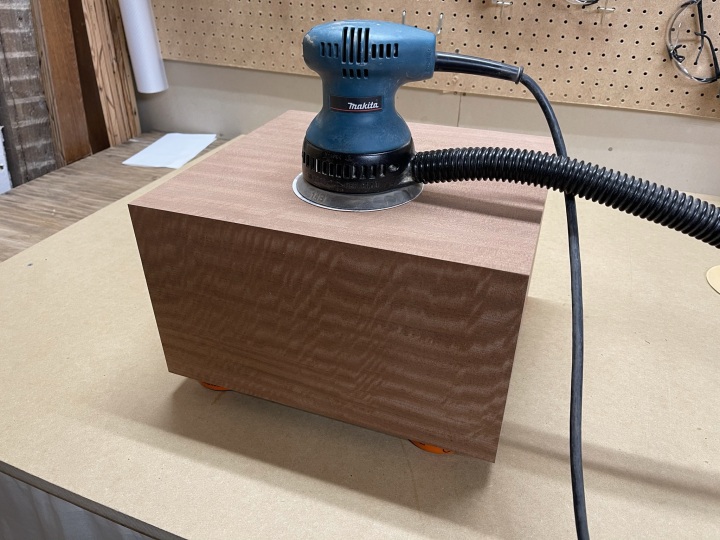
I started the finishing process sanding the cabinets with a random orbital sander. Priority number one was to not sand through the veneer. I started with a 150 grit and then finished with a 220. Nothing fancy in the process, just a first pass then a second pass with very light pressure. Just for good measure, I finished with a light 220 grit hand sand along the grain to remove any swirl marks from the orbital sander. But, this was probably not necessary. I’ve skipped this step in the past and have not seen any patterning.
After the sanding was complete I used the shop vac to vacuum up the dust. I then did a quick additional rub down with a dry cotton towel to remove a bit more residual dust.
Applying Shellac
Once the wood was sanded and the dust removed, it was time to apply the shellac. Shellac can be easily thinned with denatured alcohol. I found that full strength led to a more bumpy texture after a few coats. Thinning two parts shellac to one part denatured alcohol gave a much smoother finish. This could also go to half and half with maybe an extra coat.
The alcohol based shellac is less noxious than other finishes, but I always wear a respirator with an organic vapor cartridge when working with any solvents. Latex gloves keep the finish off my hands (mostly).
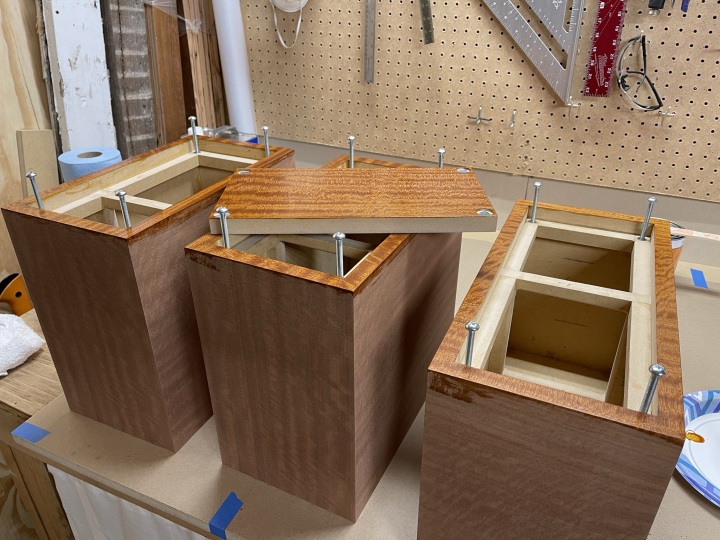
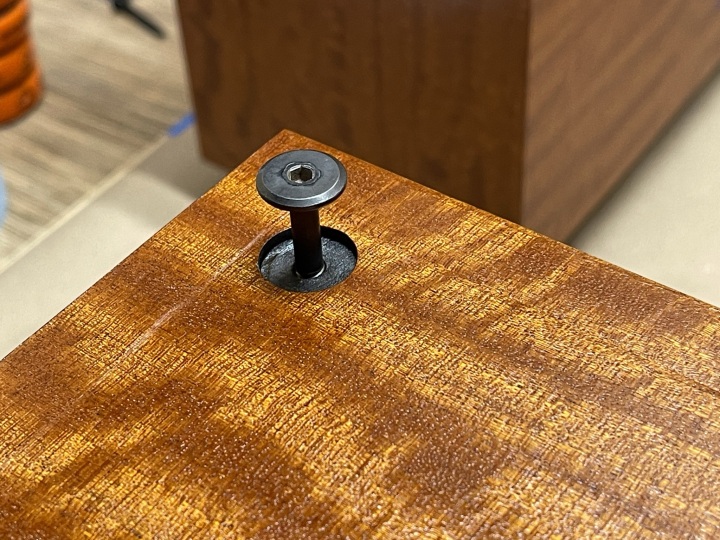
After applying several coats to the back, I used the threaded inserts for the removable rear baffle to screw in some carriage bolts to use as supports while finishing the rest of the cabinet. This worked great since I didn’t need to actually support the cabinet on a finished surface.
I used a good quantity brush to apply. A bunch of light coats is the key. It is ready for another coat in about two hours, so I could move through the process fairly quickly. I did a very light sand with 320 grit sandpaper after the first one or two coats to smooth the surface. Subsequent coats dissolve nicely into the previous, so it’s easy to fix any problems with a sand and additional coats.
A container with a bit of denatured alcohol worked well for cleaning the brush in between coats. I put the brush in a gallon zip-lock bag to keep it from drying out.
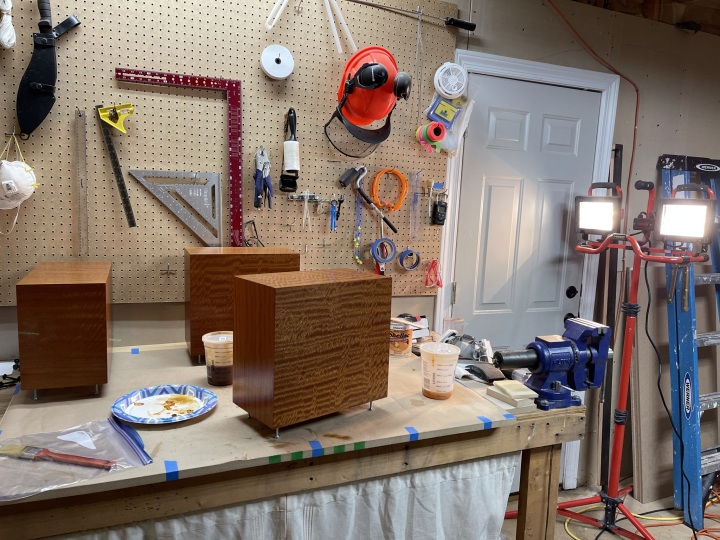
Good reflective lighting during the application process made it much much easier to see exactly what I was doing. I used some halogen work lights set at a location where I could see a reflection off the surface as the finish was applied. Three or four light coats did the trick.

Removable Baffle Gasket
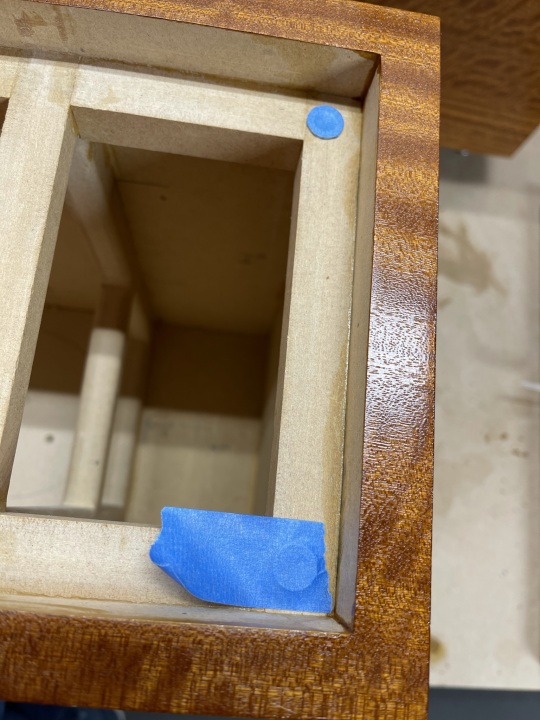
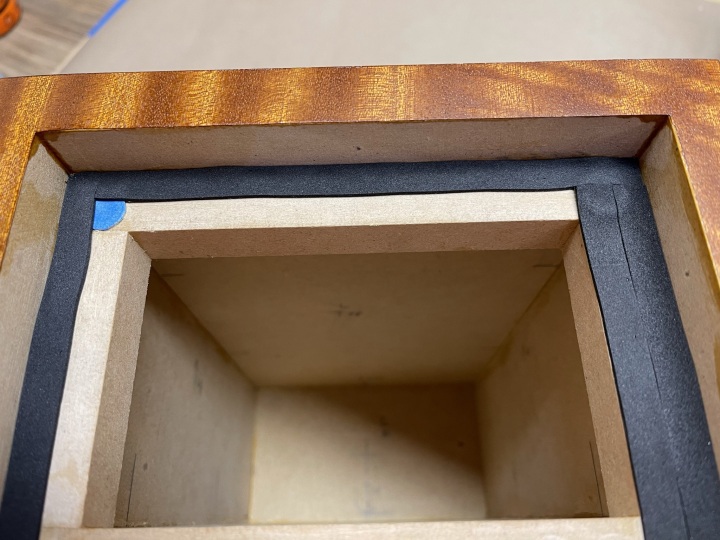
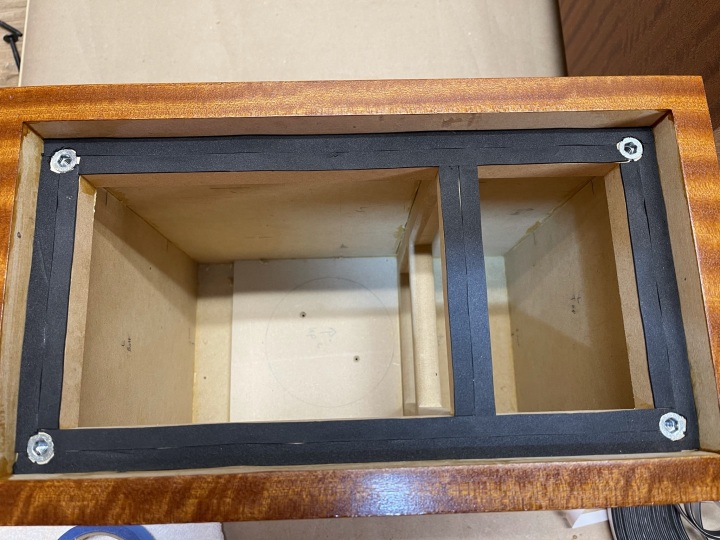
The final step was adding the gasket to the removable rear baffle. It was a bit tedious, but fairly straightforward. I put the gasket of the panel for the center and on the support ledge for the left and right. I prefer the ledge, but either way is perfectly functional.
After applying the foam gasket, I cutout the section around the threaded inserts. One trick that I found helpful was putting some painters table over the inserts. The gasket adhesive was very difficult to remove from the metal. It was much easier to peel up the gasket when stuck on top of the painters tape.
Finishing up
As a final touch, a bit of black acrylic paint in the bolt recess covers up the unfinished MDF that shows around the edges.