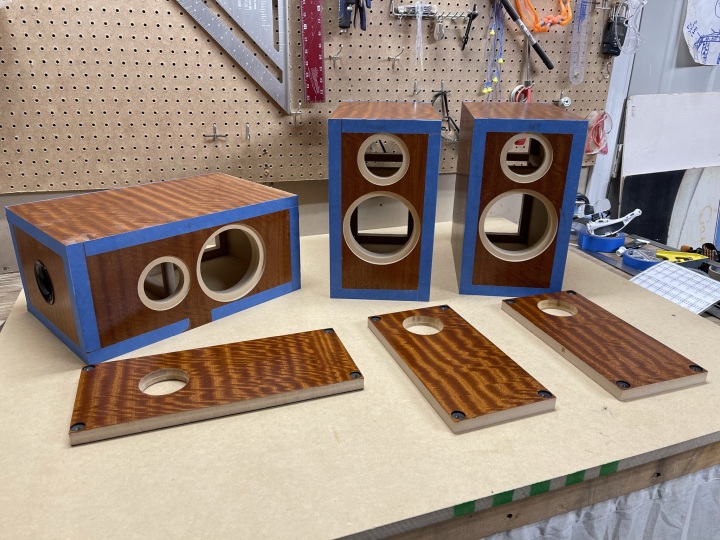
Gluing the Panels
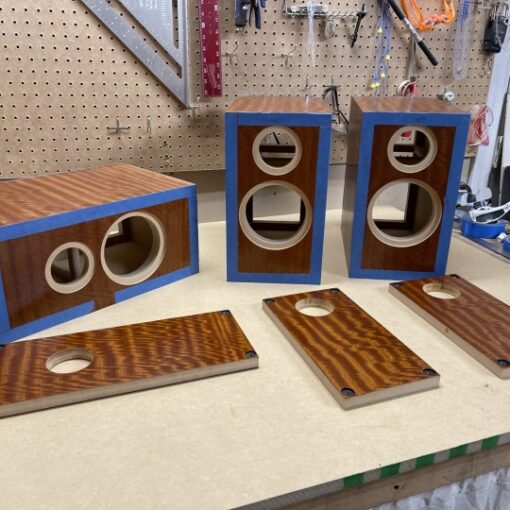
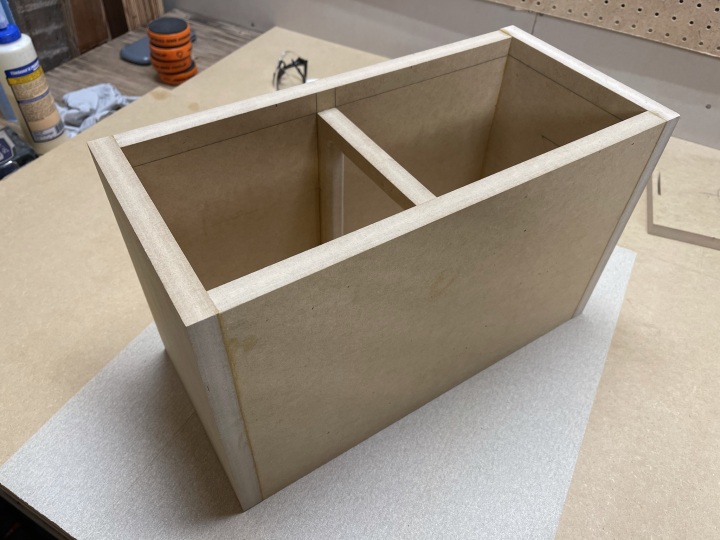
Once the panels are cut it’s time to start gluing. Gluing the panels is relatively straightforward. Of course planning out the order everything is goes together is critical. For this build, the center vs. the left/right went together in a different order because of the orientation of the window brace. I glued the window brace along with the main cabinet (I didn’t add it later).
I coat both faces with a light amount of glue. I like to brush it on so I’m sure I get good coverage all the way to the edge. I load up both sides of the slots with a dab of glue and spread it with a popsicle stick (or similar piece of thin scrap). I like to have a bit of squeeze out so I’m sure I got solid coverage.
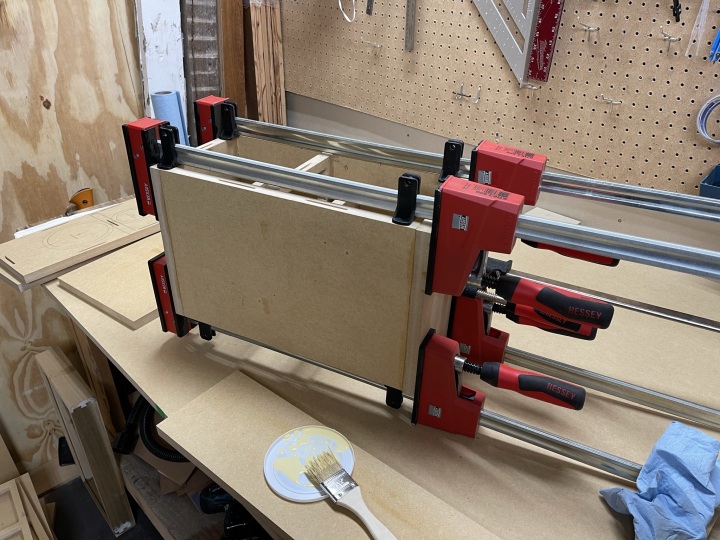
I make sure the cabinet is laid out on a flat surface when clamping to make sure all the edges are flush. It can be tricky to true everything up with a lot of moving pieces. The biscuits do make this much easier.
After 45-60 minutes of clamp time I pull off the clamps and scrape the excess glue with a putty knife (before it fully dries).
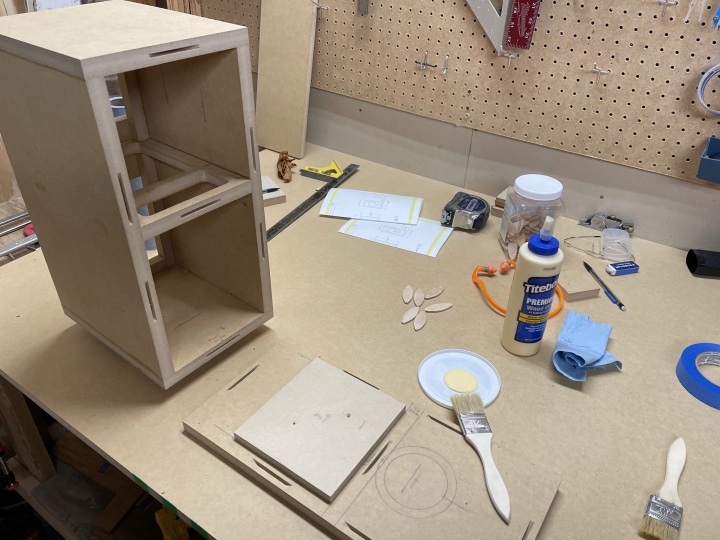
Baffle Reinforcement
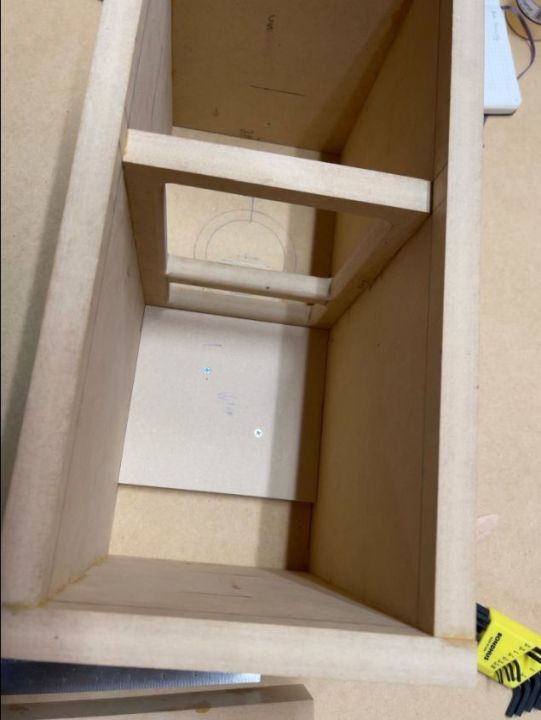
I added a 1/2 inch square piece of MDF to reinforce the woofer baffle. I cut the section to fit the interior width of the cabinet and fit up to the window brace. To line it all up, I dry-fit the front baffle to the already glued sides (with biscuits). Then I placed the new square section inside the cabinet against the back of the front baffle. I drilled a couple of holes to ensure I could line it up in the exact correct spot after gluing. I made sure to put the holes toward the middle, which will be cutout for the woofer.
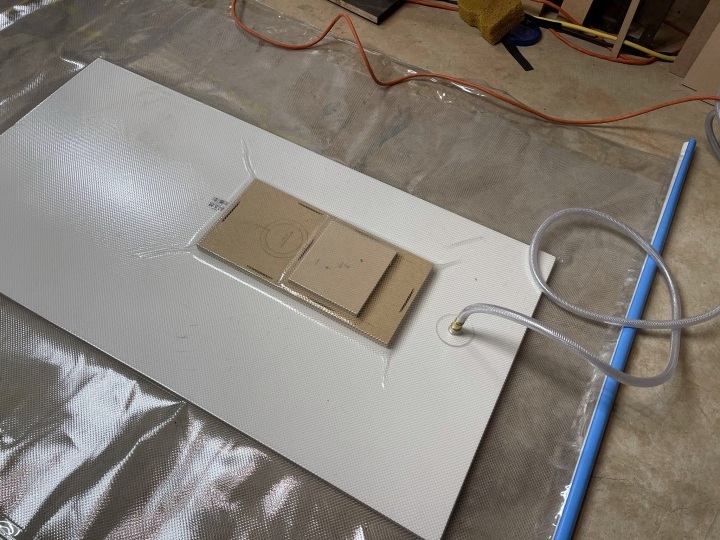
Then I pulled everything apart, applied glue to the reinforcement square section and used some wood screws through the drilled holes to line it up in the right spot. I threw it in the vacuum press, but it could have just as easily been clamped.
Sanding
I use a sanding board to square all the sides of the cabinet after gluing. I stick strips of 80 grit stick-on sandpaper to a sheet of MDF.
Once the sides and top/bottom are glued together, a quick sand on the font and back ensure a flat surface for the front and rear baffles.
Once the font baffle is glued on, I do a thorough sand of every face to ensure a nice flush surface. The veneer will need a completely flat surface free of edge ridges. Any imperfections are visible once the veneer is finished.
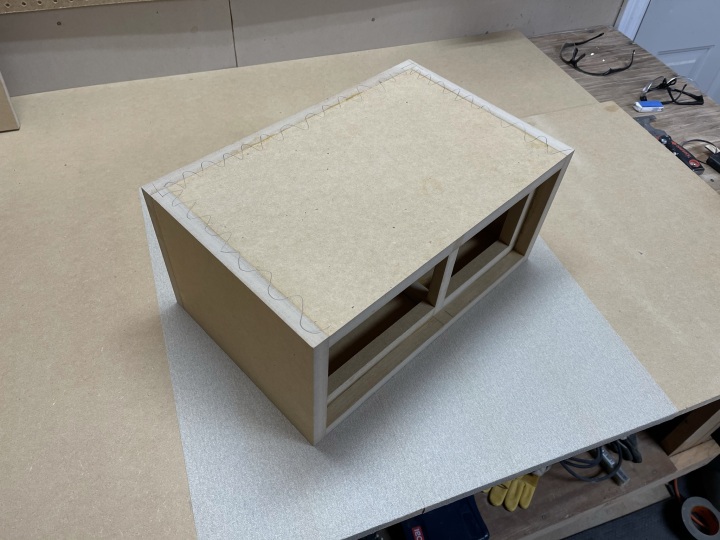
To ensure all the edges get sanded completely flush with the panel surfaces, I scribble a pencil line along the joints. It’s a good (kind of) workout. I just keep sanding until all the pencil marks are sanded away.
At this point onwards, I try to be particularly careful keep the edges and corners nice and sharp. If a corner gets dinged or rounded over, it will need to be repaired before the veneer goes on. It is tempting to use a belt sander to flatten out the cabinet sides. But inevitably I end up rounding off a corner, which causes problems with the veneer. I just stick to the sanding board and keep going until it’s flat.