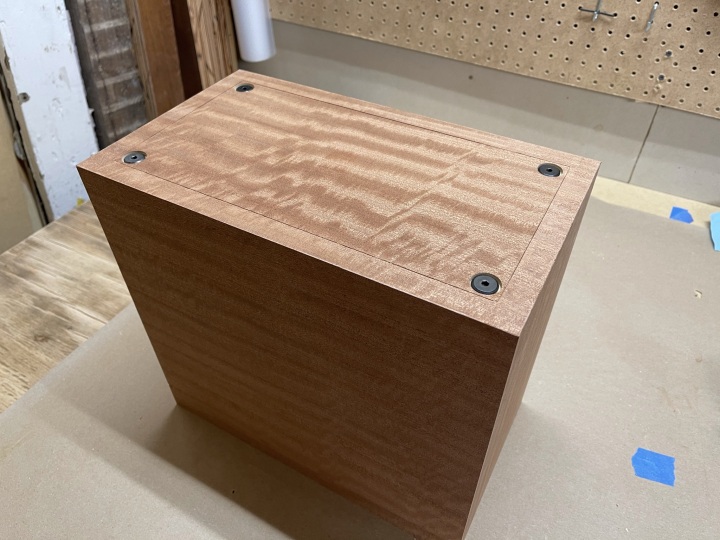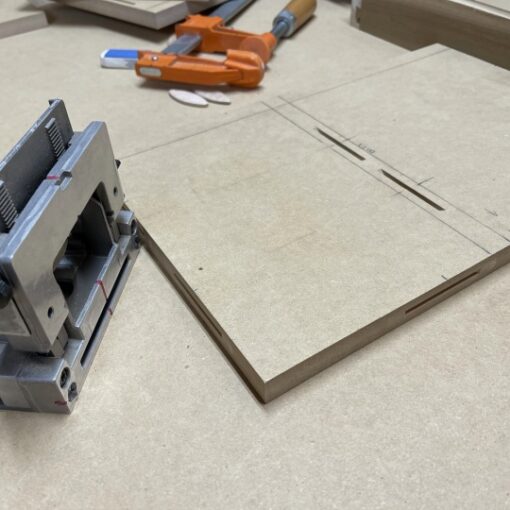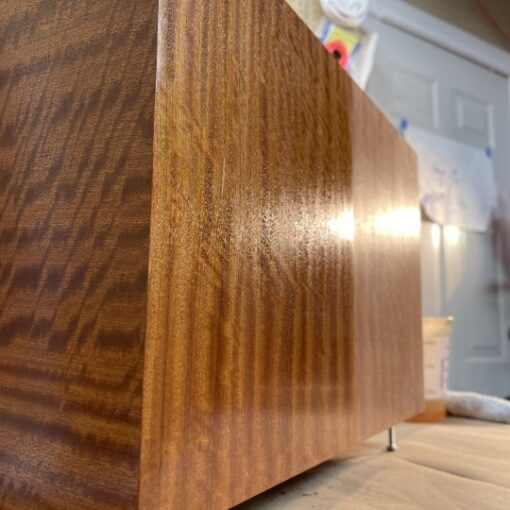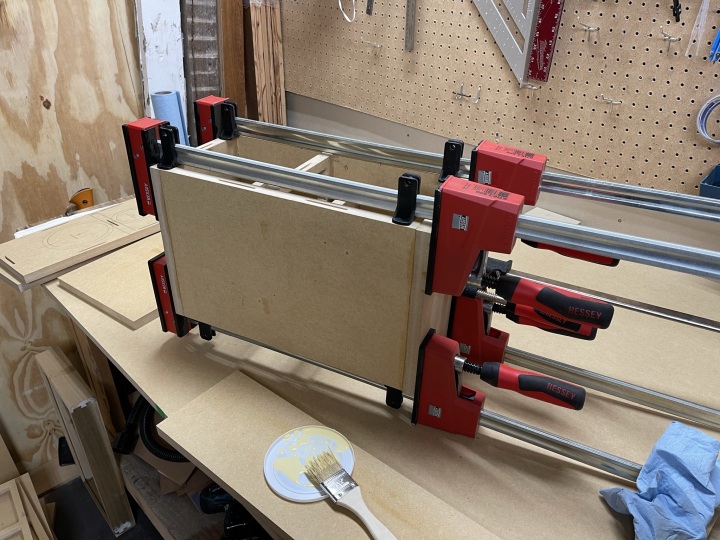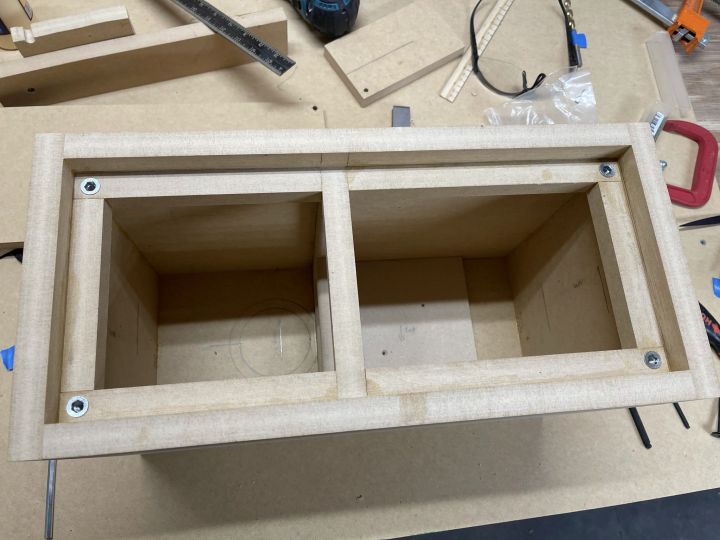
Chad at Meniscus Audio recommended I think about a removable baffle to make it easier to install the components and make any needed adjustments. It sounded like a good idea to me, so I decided to use a recessed removable rear baffle. The rear panel is inset inside the back of the cabinet resting on a ledge attached by flat headed bolts. I ended up countersinking the bolts so they are flush with the back of the cabinet. This was a little tricky to do, but ended up working out well.
Installing the Baffle Ledge
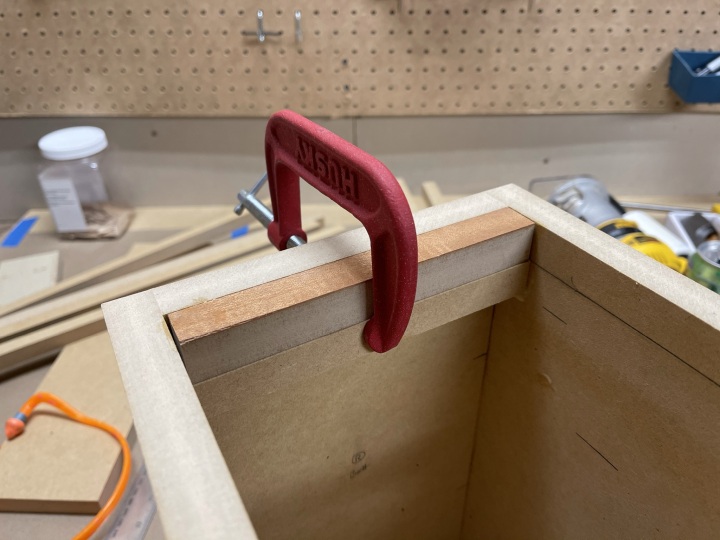
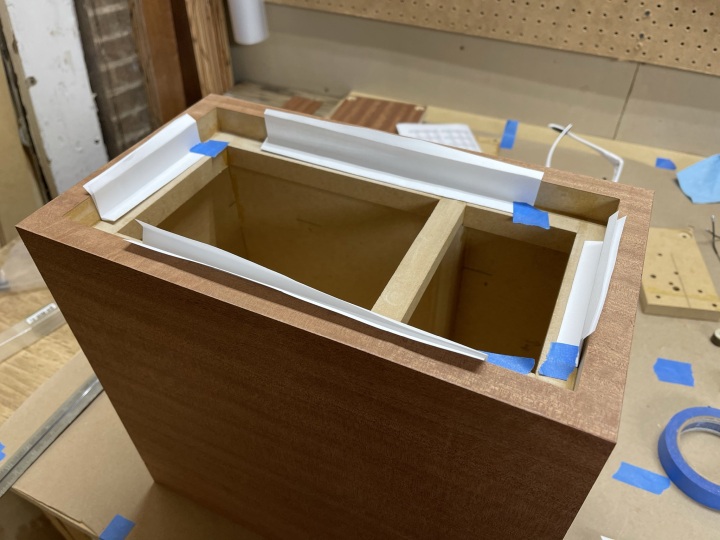
The first thing I did was to figure out the depth for the recessed ledge for the back baffle panel. It needs to be a bit deeper than the 3/4 MDF to account for the gasket. I took a small piece of MDF and put some gasket tape on it, then compressed it down to get an idea how much additional depth would be needed to account for the baffle. Then I made a depth gauge by gluing a strip or two of veneer to another strip of MDF.
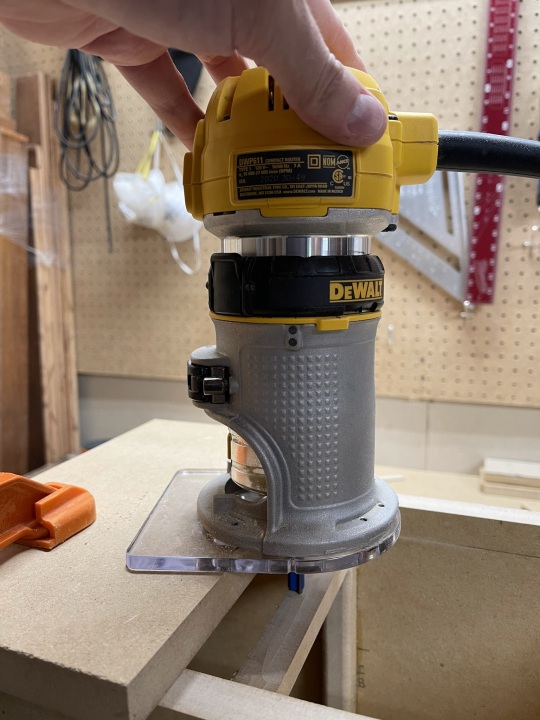
Once I figured out the depth, I used the router to set the depth of the back edge of the window brace. I took a couple of small passes until my depth gauge was flat with the back edge of the cabinet.
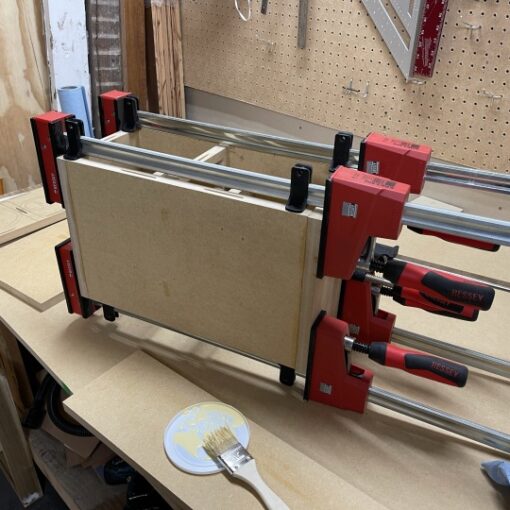
To finish the baffle ledge, I cut 3/4 x 3/4 pieces of MDF and glued them around the back interior of the cabinet. I tried a couple of different ways, but what worked best was gluing the top and bottom pieces first, then the side pieces. I used the gauge to install the top piece level and at the right depth. Once that is done the side pieces are easy to line up between the top and middle window brace.
I actually finished the veneer before I finished the rear panel, but I’ll describe the rest here to keep it all together. I tried this a few different ways as well, but this is the best process I found after three cabinets. Of course I tried a bunch of stuff on scrap wood before I started drilling the actual final panel. And then managed to make a few mistakes anyway …
First I put painters tape on the corners of the removable panel and marked the bolt holes. I measured the holes so that there would be enough clearance to recess the bolt heads with a bit of veneer around the edges. But the holes can’t be to far in or the threaded inserts will not have enough clearance around the inside edge.
Then I set the back panel into the cabinet using folded paper in the edges to center it (making sure it is oriented the right way). My panel is a tight fit, so a folded sheet on each edge did the trick.
Then I put the whole cabinet on the drill press and drilled the 1/4 inch holes through the back panel and the ledge underneath.
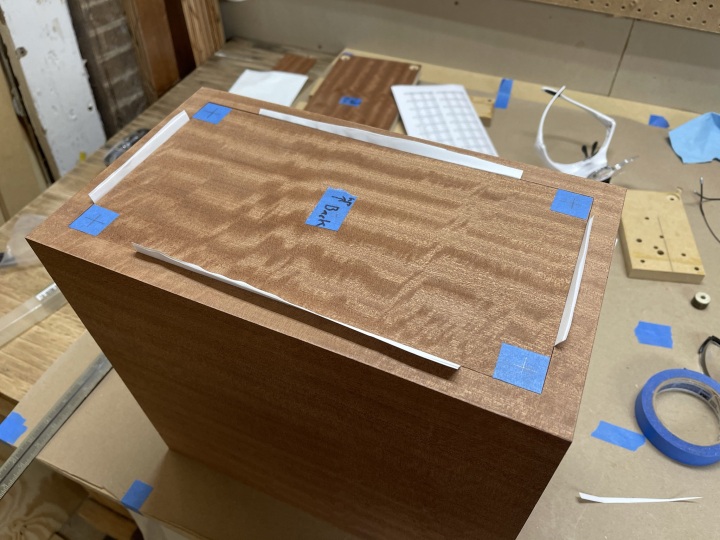
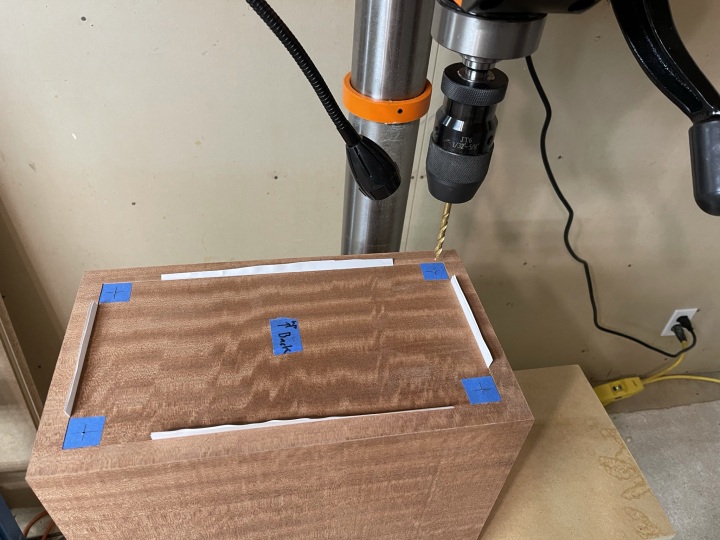
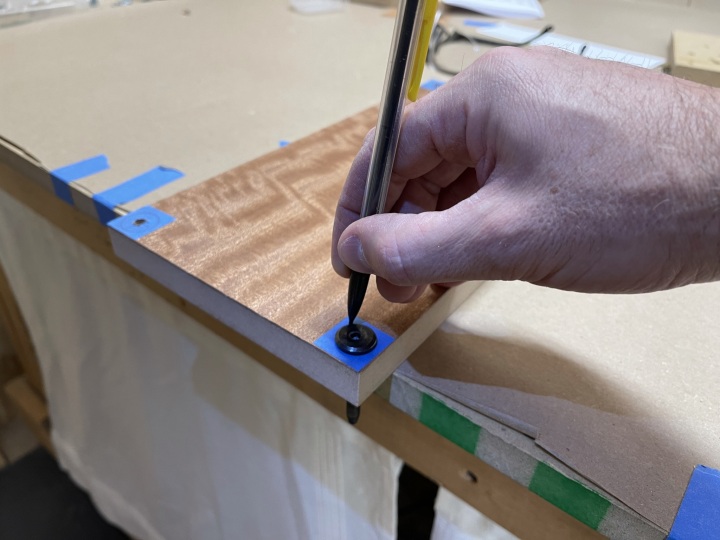
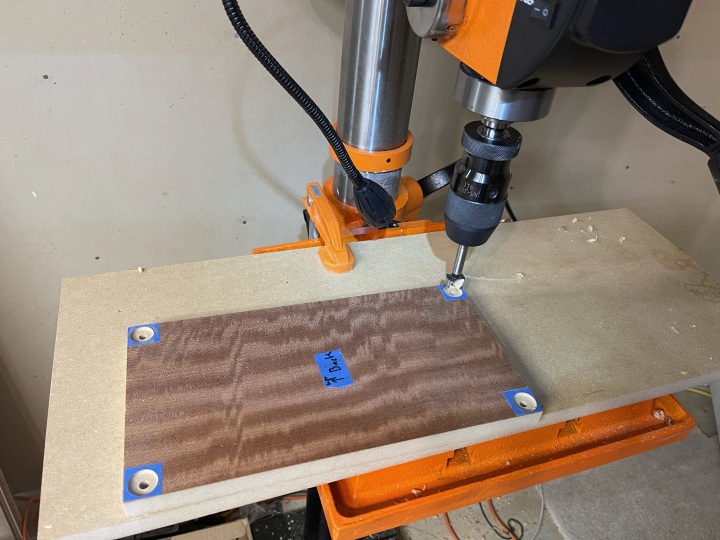
Once the holes were drilled through the panel, I used one of the bolts as a reference point to draw the location for the countersink. I found it was just as good to drill the hole first, then mark and drill the countersink. As opposed to drilling the countersink first then the hole. It was faster this way with less bit changes and more consistent countersink depth.
I used a 3/4″ Forstner bit to drill countersinks about 1/8″ deep.
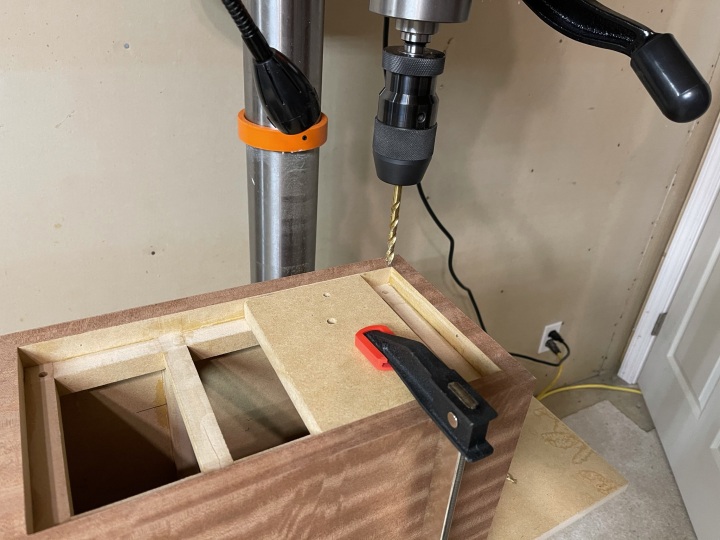
Before the threaded inserts could be installed, the 1/4″ holes drilled with the front panel needed to be enlarged to 5/16″. To keep the alignment exact, I put the 1/4″ bit back in the chuck, aligned the cabinet using the existing hole, and clamped it down. Then I swapped bits and drilled the slightly larger 5/16″ hole. This was a bit tedious, but it worked well keeping the alignment spot on.
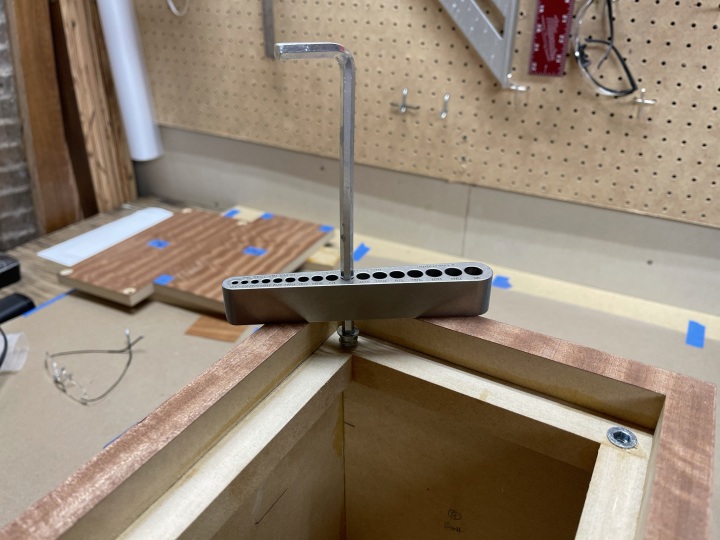
Once all the holes were enlarged I used a v-drill guide block with a hex wrench to install the inserts. The inserts want to skew sideways when going in, so the guide was helpful.