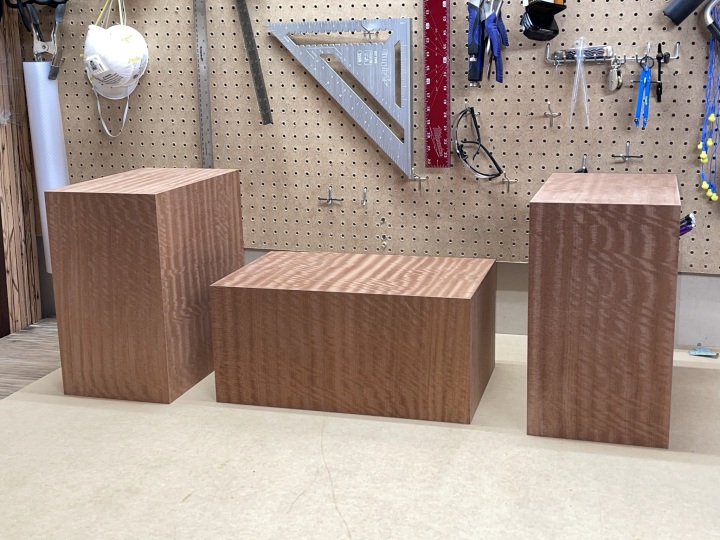
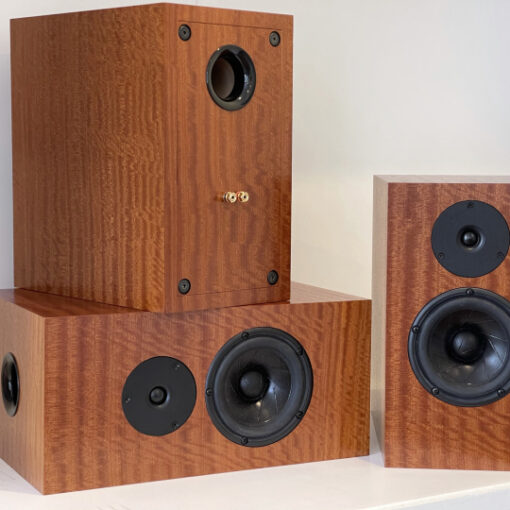
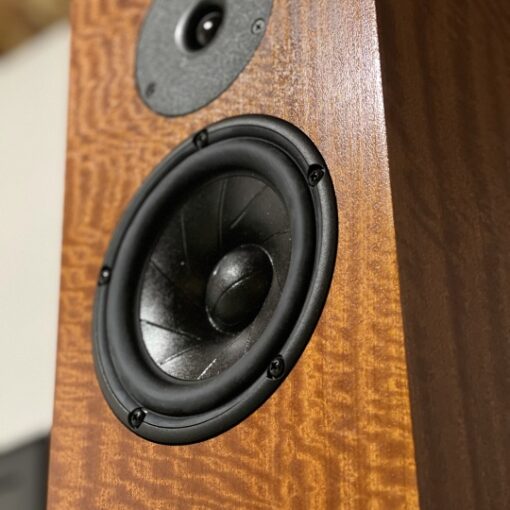
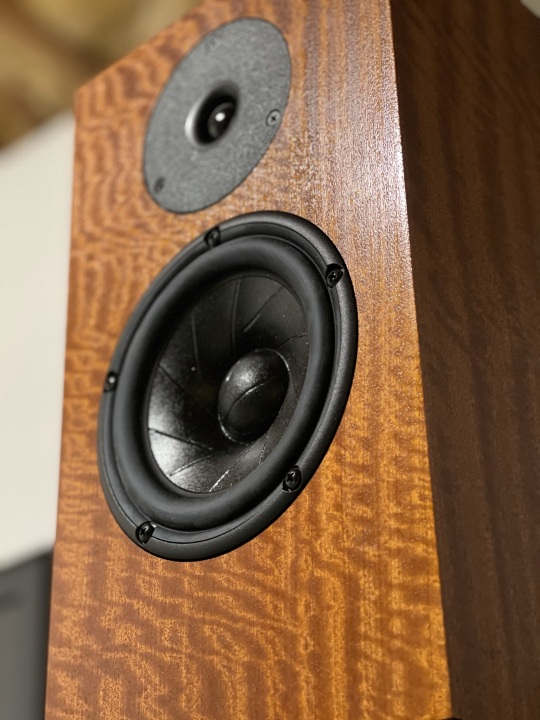
For this project I used an unbacked mahogany veneer to finish the cabinet. Combined with an amber shellac finish, I think it looks great. I sourced my veneer and supplies from Joe at VeneerSupplies.com. It’s a great site with everything needed, and Joe was also happy to provide some guidance. Thanks!
I used the cold press Better Bond X-Press Veneer Glue, which ended up working well. I used clamps for veneering the cabinet and a vacuum press for a couple of flat panels – but those could have been clamped just as easily with similar results.
I made sure my glue was fresh (less than a year old). It was cheap enough to just order a new bottle when I bought the veneer. I also found it best to veneer with everything at room temperature. This was a wintertime project and it gets cold even in ATL. It’s not any fun to work in a cold workshop anyway.
Overall, I would say the veneer step requires the most experience. There are some great guides and videos out there, but the experience of actually having already veneered a few speaker cabinets was invaluable. I have had to scrape off more than one (or two, or three…) veneer panels due to too much glue, too little, or randomly unknown poor adhesion. It was good to go through the learning process before starting something I wanted to turn out well.
Veneer Cut Planning
I ended up buying four sheets of veneer. The nice thing about sequential sheets is that the grain pattern is essentially the same for each sheet. I decided to try to use the same or similar sections for each of the speakers. I made sure to align the the grain direction for the front, sides and back (vertical in this case). I didn’t want the front grain to be vertical and the side to be horizontal – that would not look good at all. Of course the center channel is on it’s side, so that had to be taken into account. I had some spare sections, which was good. Let just say mistakes were made and leave it at that.
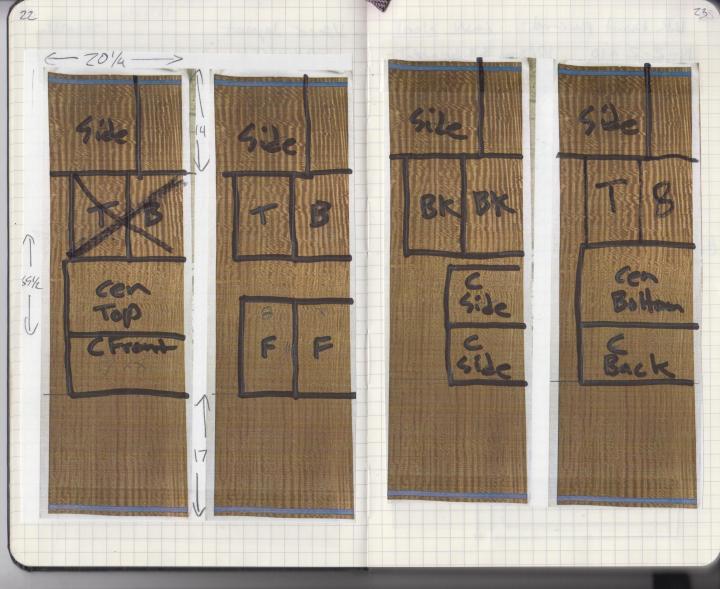
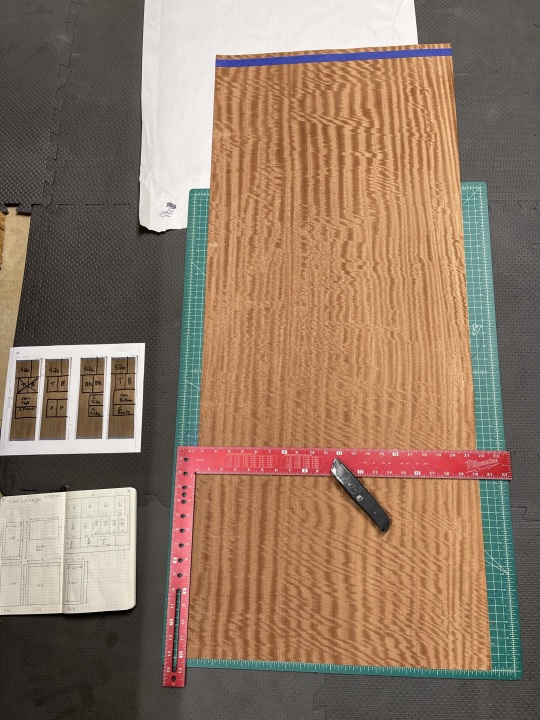
Veneer Cutting
I used a cutting mat, framing square and a utility knife to cut the veneer panels. I cut the panels 1/4″ larger than the finished cabinet size to give a bit over overhang when gluing the panels on. This gives 1/8″ on each side, which I find to be enough for some wiggle room but not too big to be in the way. Too much extra veneer overhanging the edges is prone to catching on stuff and breaking.
The cutting mat has measurements printed on it, so it’s easy to quickly line up the framing square and cut to the right size – and it doesn’t need to be perfect. When cutting I use light pressure and make a bunch of passes with the knife until all the fibers are cut.
Just like the MDF panels, I label each veneer panel after I cut it. I stick a piece of blue painter’s tape on the finish/outside of the sheet with the type of panel (side, bottom, etc.) and an orientation arrow toward either the front or top. That way when I have a nice stack of veneer sheets, I know where they all go and which way to glue them on.
Gluing Panels
For me, this is the tricky part. From a sequencing standpoint I glue: back, top & bottom, sides, and then the front last. I do this to hide the veneer edges when viewed from the front of the speaker. Since the front goes on last, there are no edges when viewed from the front. The edges are not that noticeable, but it’s a nice detail.
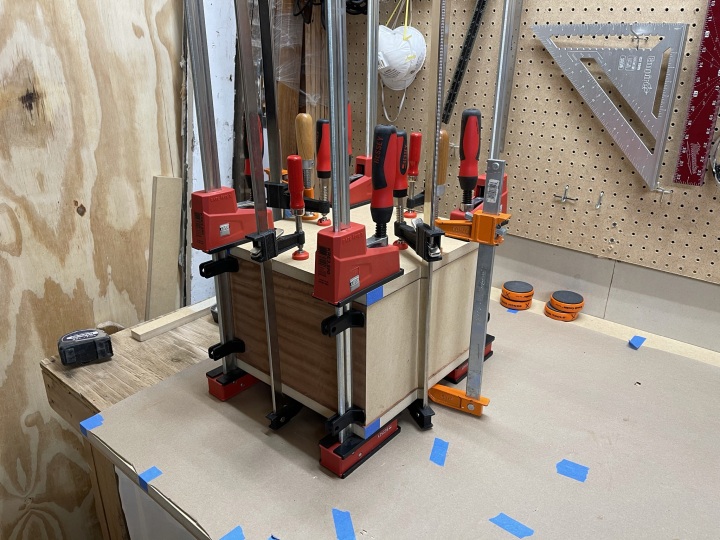
I cut the platens the same size as the veneer sheets, 1/4″ larger then the cabinet dimensions. The best platen material is 3/4″ melamine panel. The melamine does not stick to the glue. I guess I could just use a single sheet of melamine under MDF, but I have not tried that yet. 3/4″ melamine panels can get pricey since I had to cut a bunch of custom size platens for each side of the cabinet. For this project I was able to get away with using 3/4″ MDF for some of the glue ups. But in the past, I have had veneer glue bleed through the veneer and glue the platen to the veneer. That is a do over: scrape it off and sand it back down. Not fun at all.
I applied the veneer glue with a veneer glue roller from Veneer Supplies. I have also successfully used regular hardware store 4″ high density foam paint rollers. I find the roller is key to getting a nice even coat of glue on the MDF (just glue on the MDF not the veneer). I pay particular attention to make sure a nice coat of glue goes all the way to the edges and corners of the panel. These are the areas that most easily peel up and it’s guaranteed to happen if I don’t get glue all the way to the edges. The key is getting the right amount of glue. Too much and it may bleed through or bubble. Too little and the veneer will not adhere to the MDF. Again, I found practice to be the only way to get the hang of this, and even then …
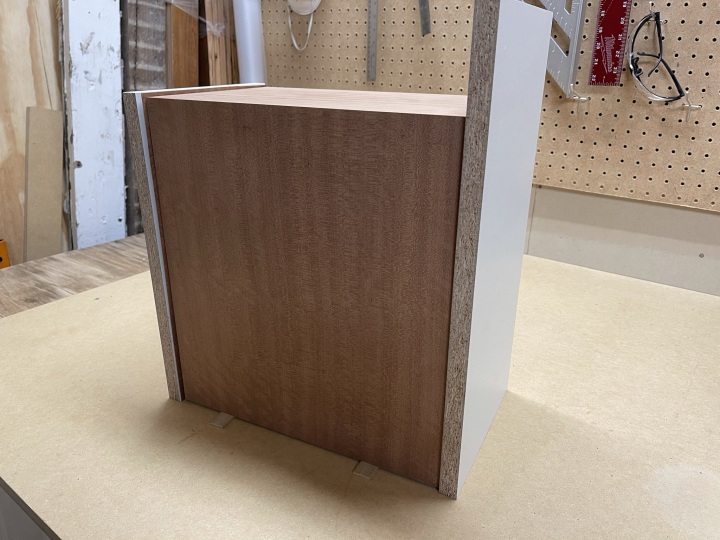
I glue two panels at a time, trying to work quickly but most important carefully. Breaking the delicate veneer sheet at this point is not fun. I put a couple of 1/8″ shims under the cabinet and apply the veneer to the sides (oriented vertically). That makes it easy to center the veneer sheet top to bottom. Then I place on the platens and clamp it all up. Sometimes, I clamp the corners, and flip the cabinet up so I can access all the edges to add additional clamps.
After 45 minutes I pull the camps. If anything has gone wrong (sad) this is the time to scrape off the veneer before it fully dries. At this point I used the router with a 1/2″ flush trim bit to remove the excess veneer around the edges. I like to do this ASAP, otherwise I inevitably catch the veneer overhang on something and it gets torn out. After trimming I leave the cabinet overnight or at least several hours before proceeding. Before gluing on the next panel, I carefully use a sanding block with 220 grit paper to get the edges fully flush to the adjoining panels.
Veneer Removable Rear Baffle
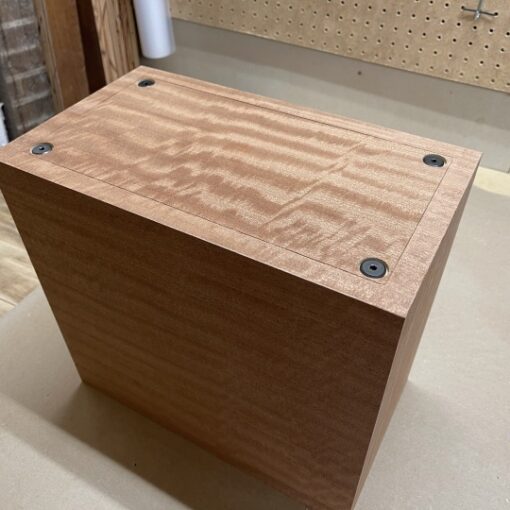
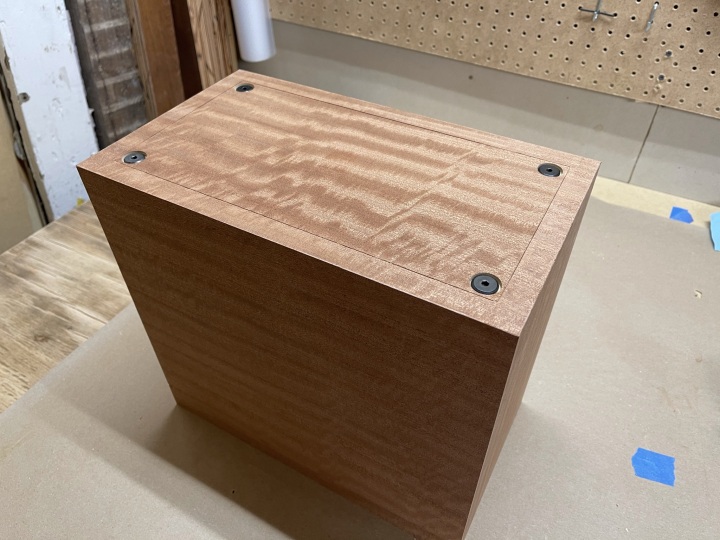
The veneering challenge for this project was the removable rear baffle. I wanted to use a single sheet across the entire back of the cabinet for an uninterrupted grain pattern. I know it’s the back – but why not have it look nice.
The rear panel is a tight fit into the recess with maybe 1/64″ around the edges. Just cutting out a rectangular hole in the rear sheet would not allow any margin of error when gluing the veneer to the panel.
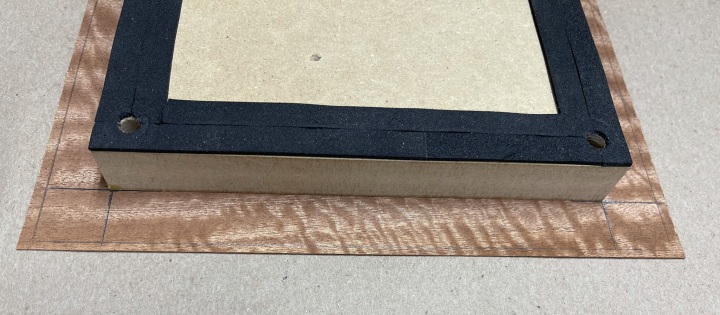
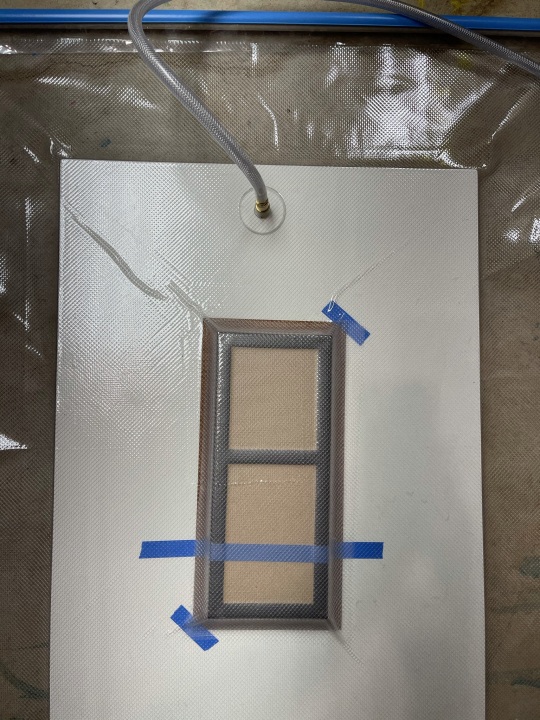
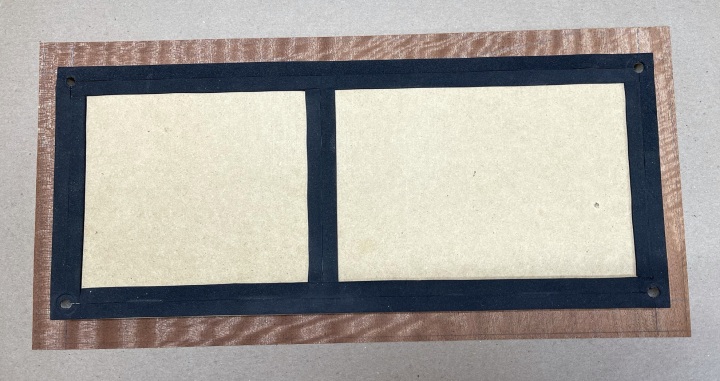
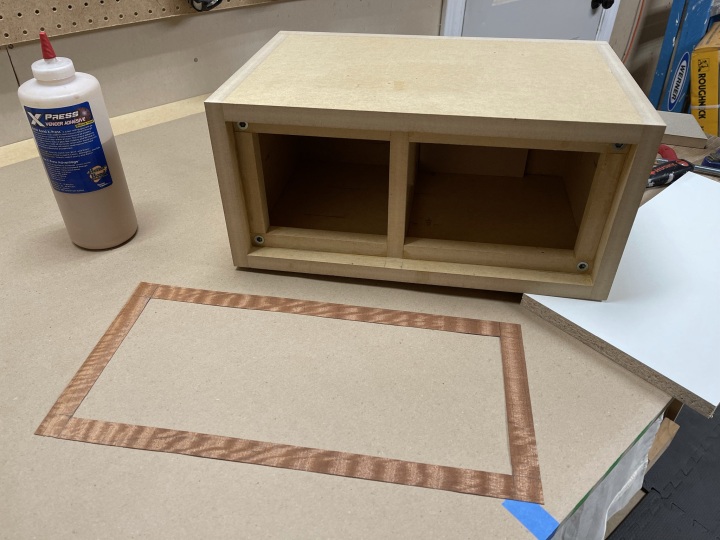
I started by centering the MDF panel on the veneer sheet and marking the corners. Then I applied glue to the MDF, carefully placed it on the center of the veneer sheet, and placed it in the vacuum press. Clamps and platens could have also been used, but this worked well and was easy.
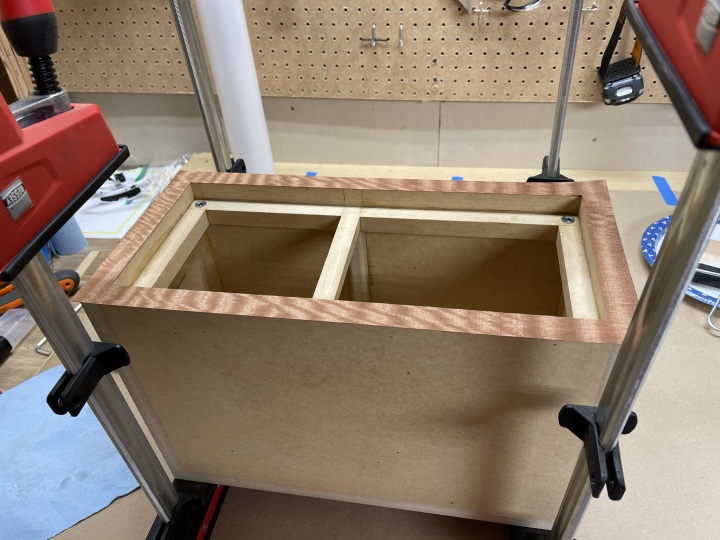
Once the panel came out of the press, I cut out the outer edge of veneer with a utility knife. Once that was done I very carefully placed this on the rear of the cabinet and clamped it up with a platen, making sure to put it on in the correct orientation.
Veneer Repair
Despite my best efforts, I ended up with some edges and corners where the veneer was not fully glued or chipped away.
For the parts not fully glued, I carefully pulled back the veneer and stuffed some glue into the crack. Another quick clamp up and it was like it never happened. Easy.
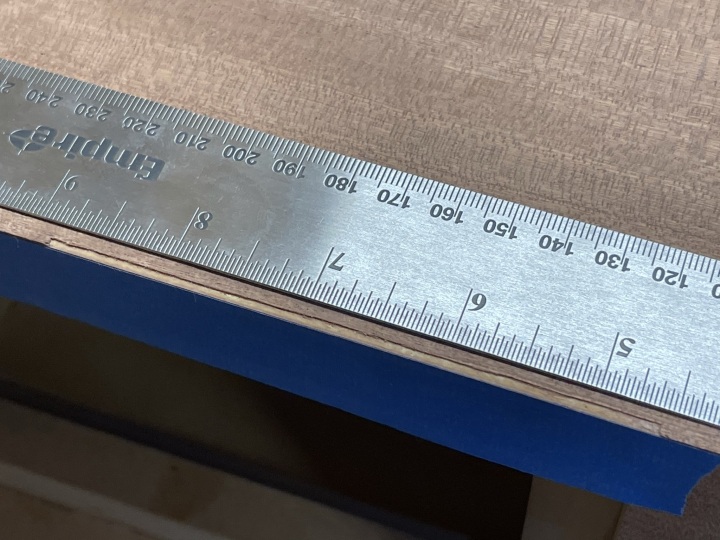
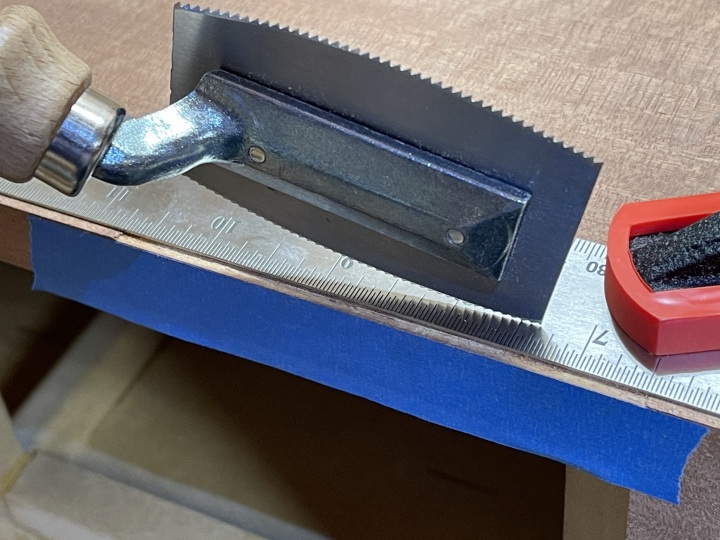
Chipped edges were more challenging. I had a jagged 1/16″ section of edge chipped away along a few inches of the side veneer. I took a straightedge and clamped it to the face of the side panel at the deepest point of the chip. Then I used a veneer saw to carefully cut a nice straight section out over the length of the chip. A utility knife can be used as well, but the veneer saw gave a nice clean edge. I cut a sliver of fresh veneer, glued it into the cutout section, and clamped it up.
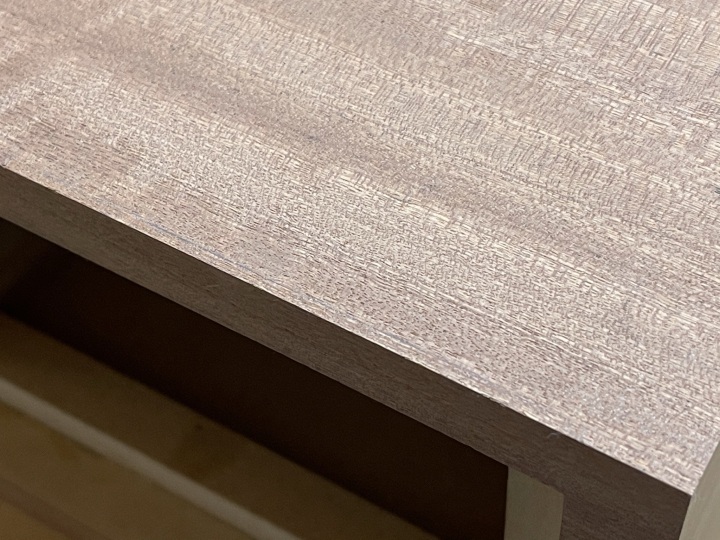
After a quick sand, the result looked good. The glue line is faintly visible, but overall it is not noticeable.